


Humanoid Robot Unitree G1 – Humanoid Agent AI Avatar
Explore the revolutionary Unitree G1 Humanoid Robot, an AI-powered humanoid avatar crafted for exceptional precision, adaptability, and innovation. Ideal for education, research, and advanced applications, it features cutting-edge sensors, intelligent design, and unparalleled versatility. Brought to you by Industrial Supply Groups by OGMIS—visit our website to unlock the future of robotics!
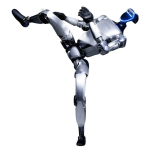
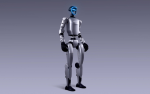
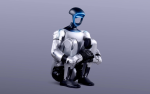
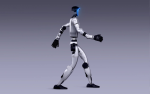
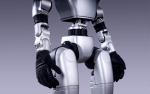
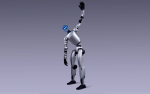
Unitree G1
Humanoid agent AI avatar
Start the agent New era
G1 and G1 EDU Parameter Comparison Table
Parameter |
G1 |
G1 EDU |
|---|---|---|
| Mechanical Dimensions | ||
| Height, Width, Thickness (Stand) | 1320x450x200 mm | 1320x450x200 mm |
| Height, Width, Thickness (Fold) | 690x450x300 mm | 690x450x300 mm |
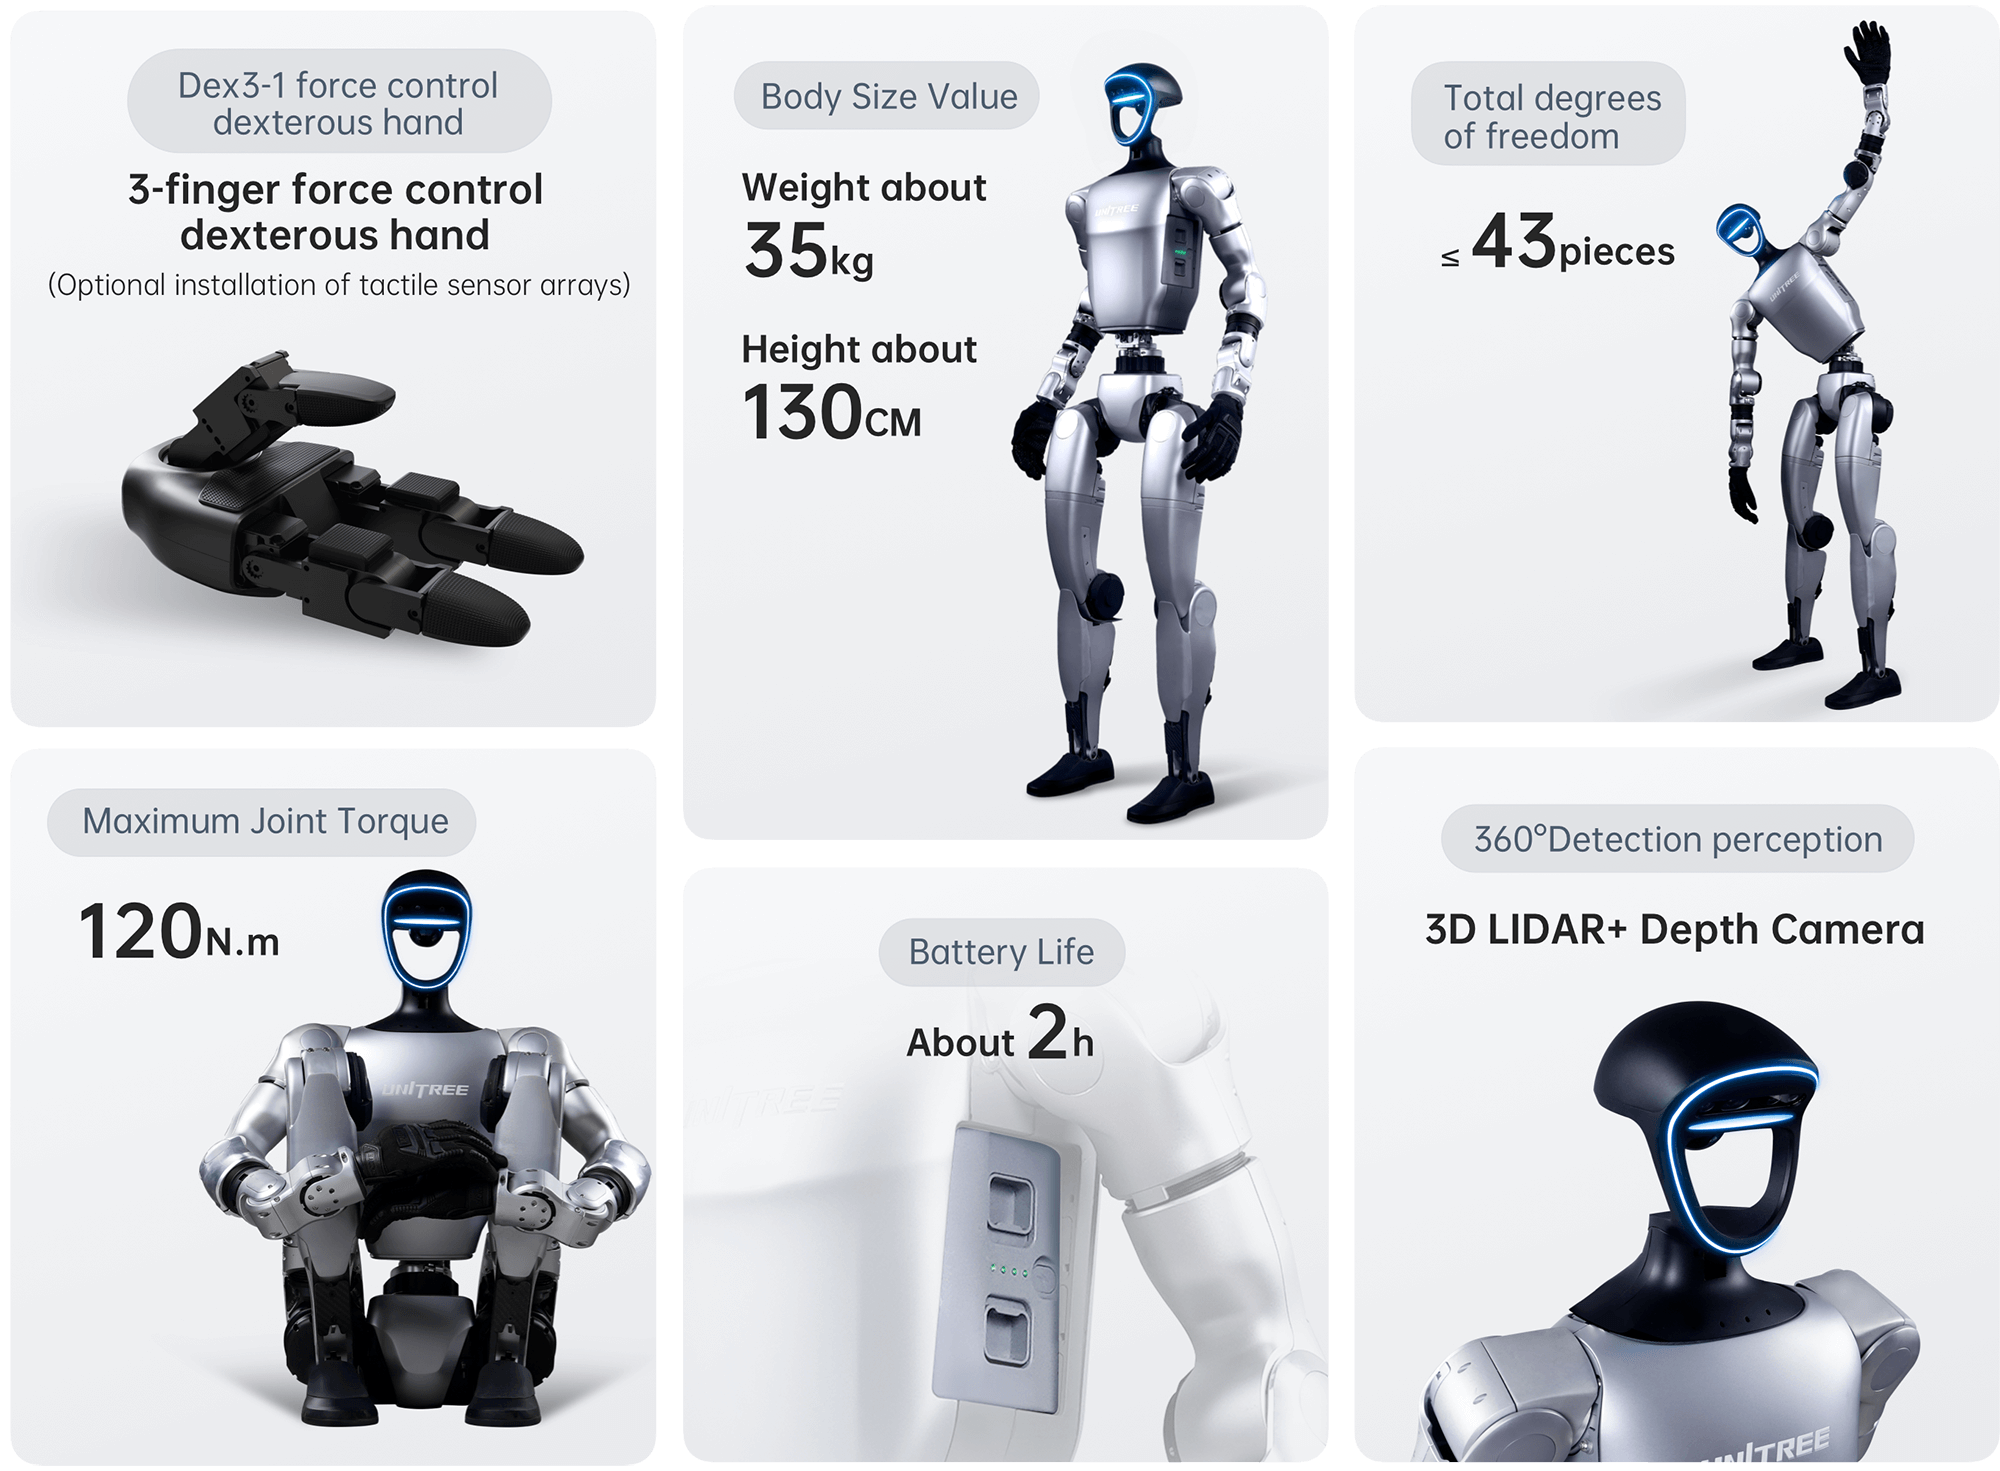
| Weight (With Battery) | About 35 kg | About 35 kg+ |
| Degrees of Freedom | ||
| Total Joint Freedom | 23 | 23-43 |
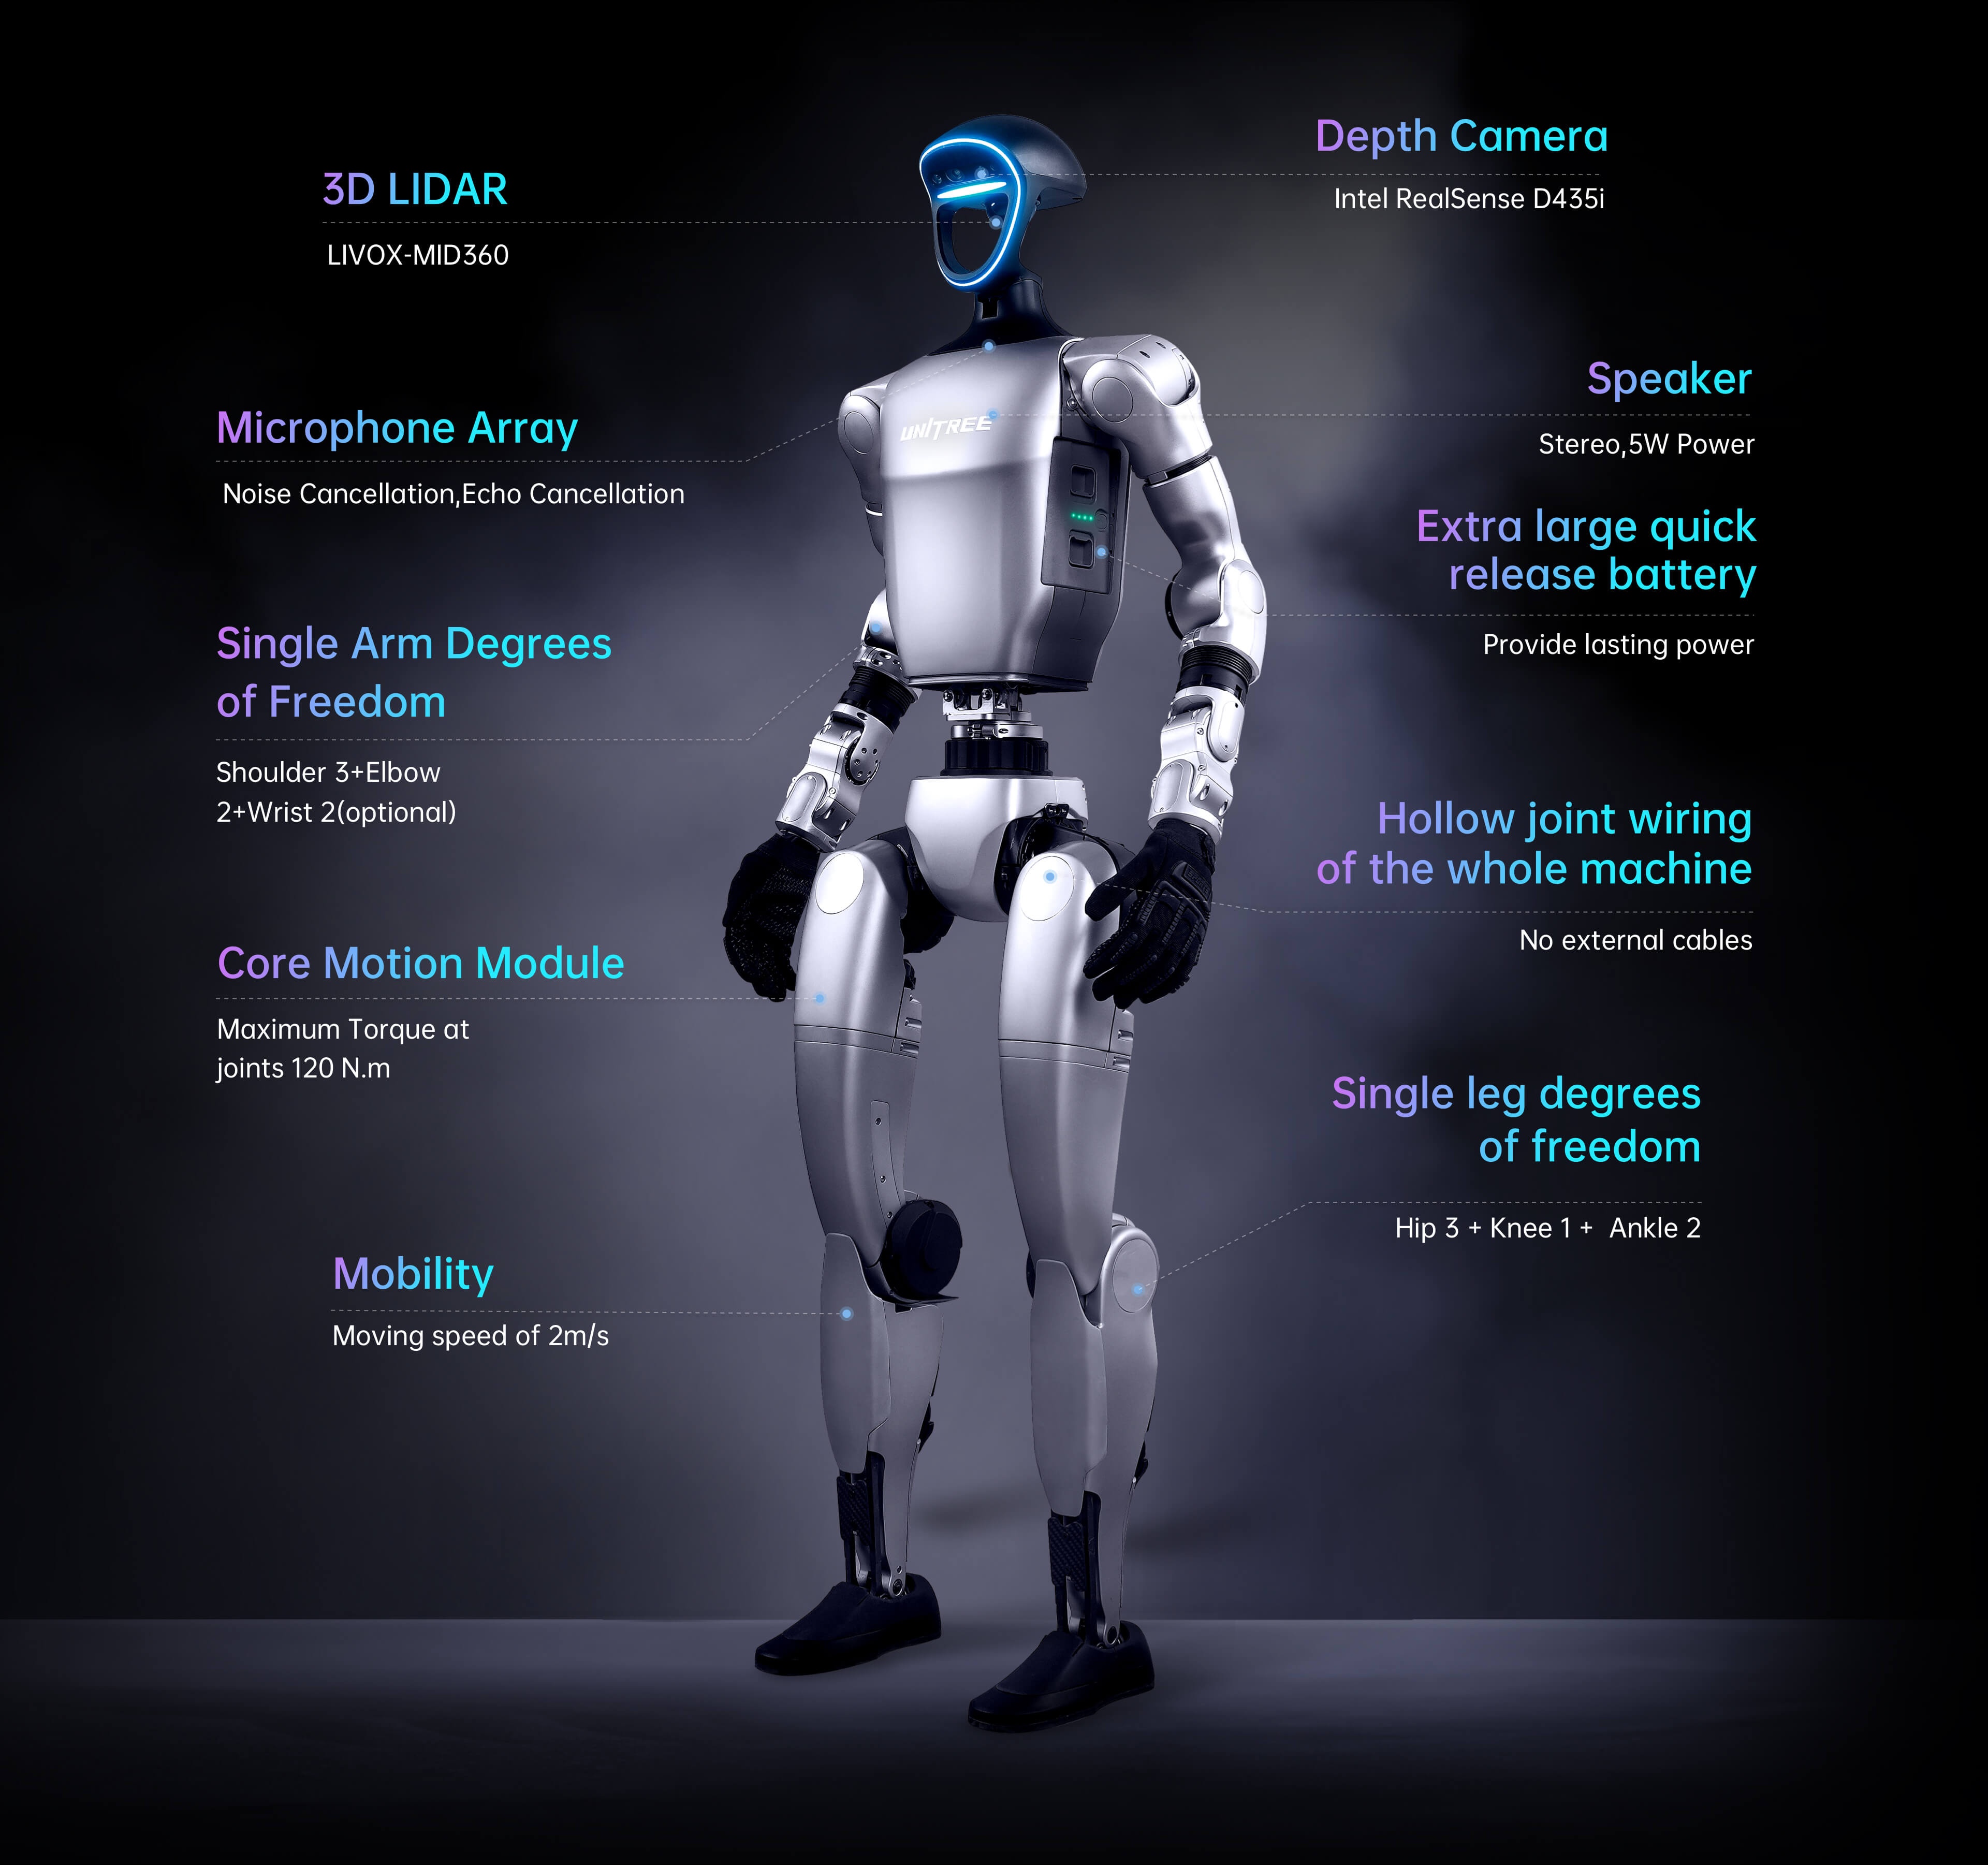
| Single Leg Degrees of Freedom | 6 | 6 |
| Waist Degrees of Freedom | 1 | 1 (+Optional 2 Additional Degrees) |
| Single Arm Degrees of Freedom | 5 | 5 |
| Single Hand Degrees of Freedom | N/A | 7 (Optional Force-Controlled) |
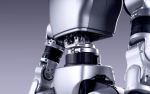
| Joint and Motion Features | ||
| Joint Output Bearing | Industrial-grade crossed roller bearings (high precision, high load capacity) | Same as G1 |
| Joint Motor | Low-inertia high-speed PMSM | Low-inertia high-speed PMSM |
| Knee Joint Torque | 90 N.m | 120 N.m |
| Arm Maximum Load | About 2 kg | About 3 kg |
| Calf + Thigh Length | 0.6 m | 0.6 m |
| Arm Span | About 0.45 m | About 0.45 m |
| Extra Large Joint Movement Space | Waist: Z ±155°; Knee: 0-165°; Hip: P ±154°, R -30 to +170°, Y ±158° | Waist: Z ±155°, X ±45°, Y ±30°; Wrist: P ±92.5°, Y ±92.5° |
| Electrical and Computing | ||
| Full Joint Hollow Electrical Routing | YES | YES |
| Joint Encoder | Dual encoder | Dual encoder |
| Cooling System | Local air cooling | Local air cooling |
| Power Supply | 13-string lithium battery | 13-string lithium battery |
| Basic Computing Power | 8-core high-performance CPU | 8-core high-performance CPU |
| Sensing Sensor | Depth Camera + 3D LiDAR | Depth Camera + 3D LiDAR |
| 4 Microphone Array | YES | YES |
| Speaker | 5W | 5W |
| Connectivity | WiFi 6 + Bluetooth 5.2 | WiFi 6 + Bluetooth 5.2 |
| Accessories | ||
| High Computing Power Module | N/A | NVIDIA Jetson Orin |
| Smart Battery (Quick Release) | 9000mAh | 9000mAh |
| Charger | 54V 5A | 54V 5A |
| Manual Controller | YES | YES |
| Other | ||
| Battery Life | About 2 hours | About 2 hours |
| Upgraded Intelligent OTA | YES | YES |
| Secondary Development | N/A | YES |
| Warranty Period | 8 months | 1 year |
Updated Usage and Safety Points
- Dynamic Configurations: The robot’s specifications may change depending on scenarios and configuration, ensuring adaptability for varied use cases. Always prioritize proper setup to optimize performance.
- Safety First: The Unitree G1 is designed with powerful motor systems and a sophisticated structure. Maintain a safe distance during operation and follow guidelines to ensure safety.
- Continuous Updates: Select features showcased are under development and will become accessible through future updates, ensuring your robot stays ahead of the curve.
- Innovative Civilian Use: The Unitree G1 is a highly advanced civilian-grade robot. To ensure its safe use, modifications that may compromise performance or create hazards should be avoided.
- Comprehensive Support: For detailed product information, guidelines, and compliance with local laws, please contact us.
Unitree RL GYM
This is a repository for reinforcement learning implementation based on Unitree robots, supporting Unitree Go2, H1, H1_2, and G1.
Isaac GymMujocoPhysical
📦 Installation and Configuration
Please refer to setup.md for installation and configuration steps.
🔁 Process Overview
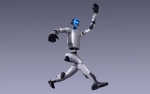
The basic workflow for using reinforcement learning to achieve motion control is:
Train→Play→Sim2Sim→Sim2Real- Train: Use the Gym simulation environment to let the robot interact with the environment and find a policy that maximizes the designed rewards. Real-time visualization during training is not recommended to avoid reduced efficiency.
- Play: Use the Play command to verify the trained policy and ensure it meets expectations.
- Sim2Sim: Deploy the Gym-trained policy to other simulators to ensure it’s not overly specific to Gym characteristics.
- Sim2Real: Deploy the policy to a physical robot to achieve motion control.
🛠️ User Guide
1. Training
Run the following command to start training:
python legged_gym/scripts/train.py --task=xxx
⚙️ Parameter Description
--task: Required parameter; values can be (go2, g1, h1, h1_2).--headless: Defaults to starting with a graphical interface; set to true for headless mode (higher efficiency).--resume: Resume training from a checkpoint in the logs.--experiment_name: Name of the experiment to run/load.--run_name: Name of the run to execute/load.--load_run: Name of the run to load; defaults to the latest run.--checkpoint: Checkpoint number to load; defaults to the latest file.--num_envs: Number of environments for parallel training.--seed: Random seed.--max_iterations: Maximum number of training iterations.--sim_device: Simulation computation device; specify CPU as--sim_device=cpu.--rl_device: Reinforcement learning computation device; specify CPU as--rl_device=cpu.
Default Training Result Directory:
logs/<experiment_name>/<date_time>_<run_name>/model_<iteration>.pt
2. Play
To visualize the training results in Gym, run the following command:
python legged_gym/scripts/play.py --task=xxx
Description:
- Play’s parameters are the same as Train’s.
- By default, it loads the latest model from the experiment folder’s last run.
- You can specify other models using
load_runandcheckpoint.
💾 Export Network
Play exports the Actor network, saving it in
logs/{experiment_name}/exported/policies:- Standard networks (MLP) are exported as
policy_1.pt. - RNN networks are exported as
policy_lstm_1.pt.
Play Results
Go2 G1 H1 H1_2
3. Sim2Sim (Mujoco)
Run Sim2Sim in the Mujoco simulator:
python deploy/deploy_mujoco/deploy_mujoco.py {config_name}Parameter Description
config_name: Configuration file; default search path isdeploy/deploy_mujoco/configs/.
Example: Running G1
python deploy/deploy_mujoco/deploy_mujoco.py g1.yaml
➡️ Replace Network Model
The default model is located at
deploy/pre_train/{robot}/motion.pt; custom-trained models are saved inlogs/g1/exported/policies/policy_lstm_1.pt. Update thepolicy_pathin the YAML configuration file accordingly.Simulation Results
G1 H1 H1_2
4. Sim2Real (Physical Deployment)
Before deploying to the physical robot, ensure it’s in debug mode. Detailed steps can be found in the Physical Deployment Guide:
python deploy/deploy_real/deploy_real.py {net_interface} {config_name}Parameter Description
net_interface: Network card name connected to the robot, e.g.,enp3s0.config_name: Configuration file located indeploy/deploy_real/configs/, e.g.,g1.yaml,h1.yaml,h1_2.yaml.
Deployment Results
G1 H1 H1_2 📂 Explore Catalog!


Reviews
There are no reviews yet.